Adventures in Argyle

In 2019 I picked up on the buzz around planned colour pooling (or planned yarn pooling) which uses variegated yarns to create Argyle patterns. I thought it was a really clever technique so thought I would give it a try. Three days later I was still pulling my hair out and not producing anything that looked remotely like an Argyle pattern.
There are however, some great resources on the internet to help you understand how it works. The one that made the most sense to me was Glamour4You’s excellent tutorial which can be found here:
https://www.glamour-4-you.com/blog/planned-pooling-with-crochet-made-easy-4-simple-steps
(Note that while this post is focussed on the crochet techniques, the basic principals can be used for knitting too.)

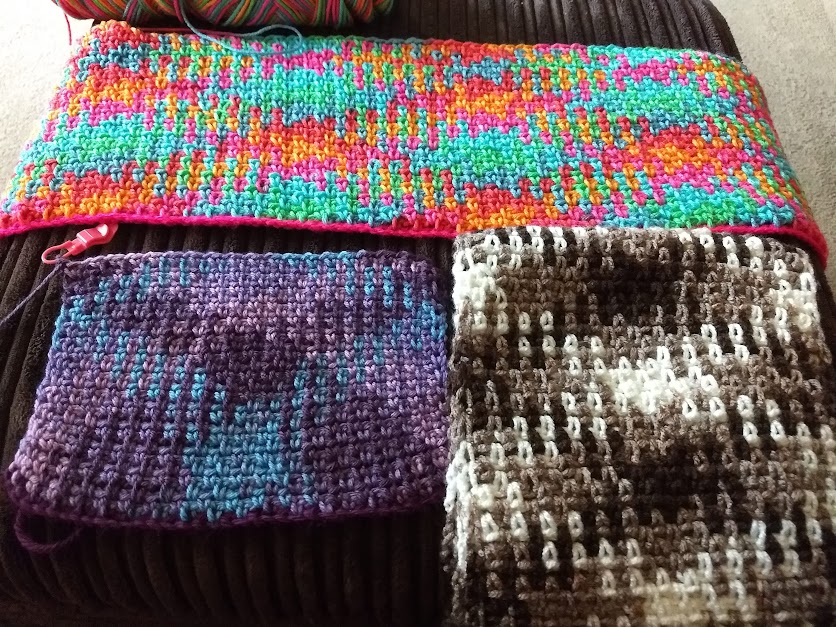
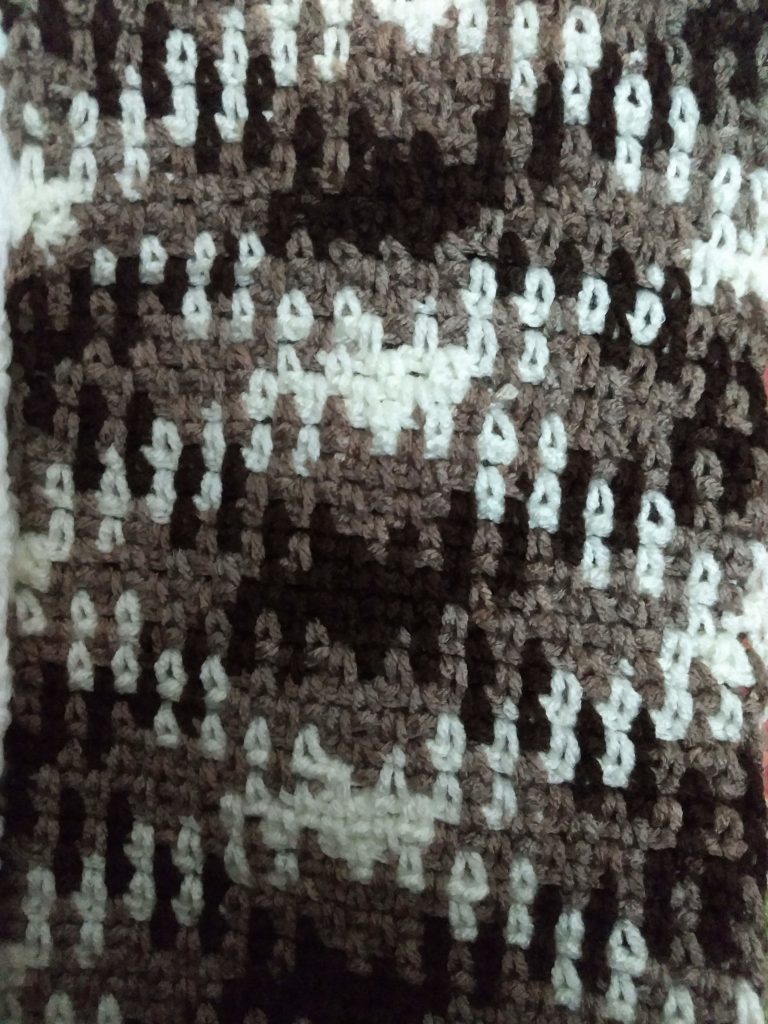
Once it started to finally click I tried again. I did not have any yarn specifically created for planned pooling originally, but I found a couple of skeins of brown and white Majestic Aran in my stash that I had bought on eBay that looked as though the colour lengths were long enough to work some magic with. My first attempt was still out of whack, but I quickly learned that stitch count was extremely important in this technique. In this particular yarn I managed to get 4 stitches per colour using a 5.5 mm hook and moss stitch. But not all of the strands would produce exactly that amount all of the time, so in many cases I had to add a slip stitch (or make the stitch a half double crochet (half treble in UK terms) instead of a single crochet (double crochet in UK terms) to use up a little bit of extra yarn.

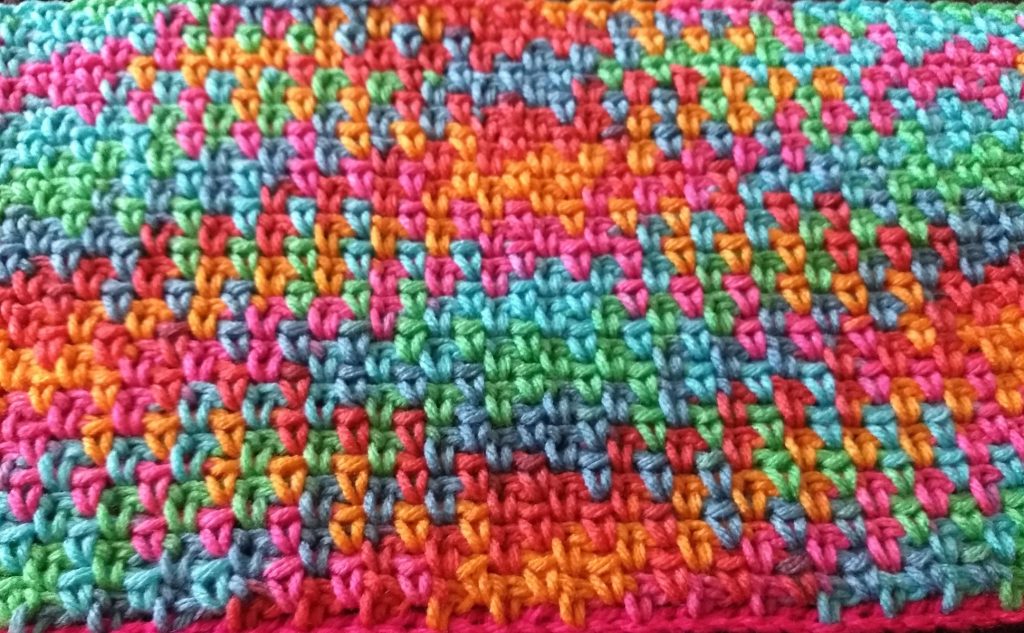
After I finished my first planned colour pooling project, which turned into a lovely Argyle scarf, , I decided I wanted to try something bigger, so I went out an bought some Red Heart Super Saver Pooling. This yarn is specifically created for planned yarn pooling, and it shows, because it is much easier to work with. For this yarn I found that I could easily work three stitches with each colour using a 6 mm hook. Three stitches per colour is recommended by Red Heart, although they recommend a 5 mm hook to achieve this.

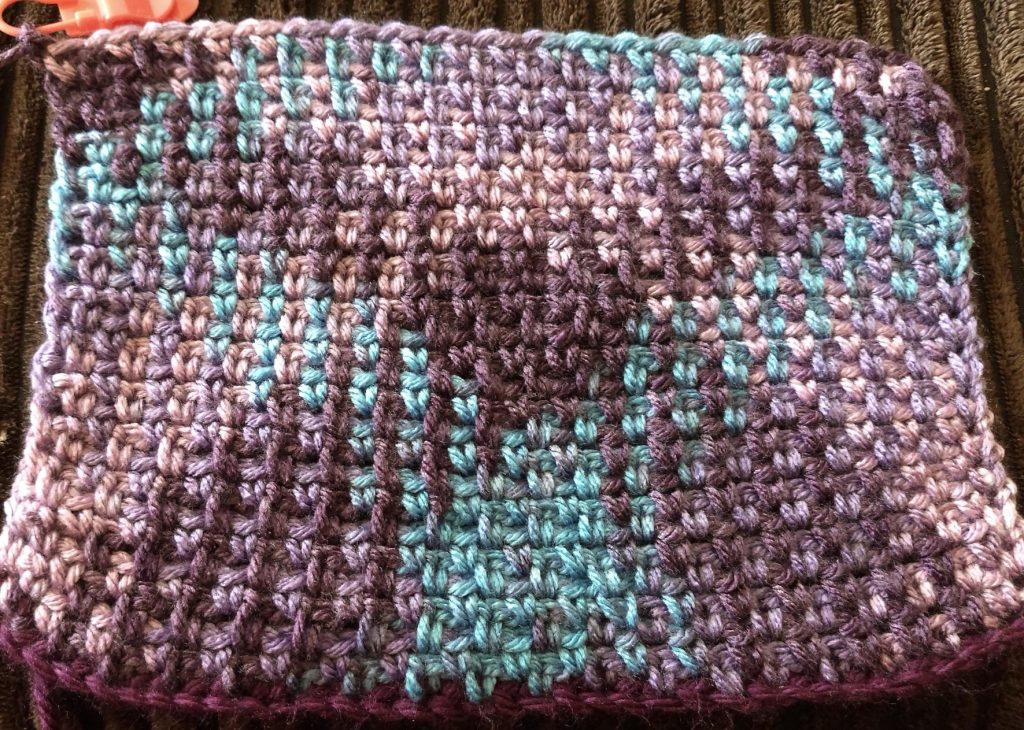
The third yarn I attempted was Stylecraft Colour Pool. This creates a nice distinct pattern, but boy is it difficult to work with for a yarn that is supposed to be designed for planned pooling! (at least for me anyway). I found this the most tricky of the three to work my swatch with. I used a 5 mm hook to get 5 stitches per colour, but found that I very often had to switch to a 4.5 mm hook for the light purple colour and sometimes the blue, while there was often too much of the dark purple even at 5 mm so I had to keep my tension very loose when working that colour. In some cases, when turning on the light purple I even had to go down to a 4 mm hook. I may have to try another hook size (the recommended size is 4 mm, but I usually find I need to go up a size, which is why I tried the 5 mm first) to see if that helps.
Planned colour pooling is lots of fun and very rewarding if you have the patience. Here are a few tips from me, based on what I have learned thus far:
- Stitch count is very important. Keep an even number of stitches across the various colours. Having said that, I have read that some yarns like Caron Simply Soft Red Camo, can be used planned for colour pooling. I have a couple of skeins of that yarn and the colours are definitely not even in terms of the number of stitches they will produce. I did try working with this colour and I wasn’t very successful, so I’ll need to give it another shot sometime.
- Work the initial chain in a complimentary solid colour instead of with the variegated yarn. This isn’t required, but I found that doing it that way worked a lot better for me visually. When using this method be careful with your first colour as you are going to have to use it to slip stitch into the chain before you do your first stitch. If required, drop your hook size by 0.5 mm or whatever is necessary to make sure you get the correct number of stitches for that first colour.
- Row 1 is of paramount importance. If you get the stitches wrong here then your whole piece will be wrong. You need to work through the colours until you get to the starting colour and then subtract one stitch. So if you have three stitches per colour and the sequence is red, green, blue, orange, red (for example). You will work three stitches each of red, green, blue and two of orange. The third orange stitch will be in row 2.
- Row 3 will show you if you are doing it right. Look at your colours in Row 1 and compare the same colours in Row 3. You should see that the colours have moved by one stitch each.
- You’ll need to complete at least 10 rows (possibly more depending on the colour sequences in the yarn) to see the Argyle pattern forming.
- Be careful when turning. If you are using moss stitch then each colour will have one single crochet (UK = double crochet) and one chain, but on turning you will need to make two chains. This can lead to the yarn running out before you complete the final stitch in the sequence so you will either need to adjust your tension to make that turning stitch a lot tighter or use a smaller hook size.
- If you are using moss stitch try to make the chain of the last stitch in the colour sequence the colour of the next colour sequence. This keeps the colours nice and separate and gives the pattern a distinct look.
I hope that this all makes sense and will help you get to grips with planned colour pooling for making Argyle pieces. Remember that not all variegated yarns will work with this method (those that have very short or very long colour sequences are not likely to work very well if at all) so you will need to do a bit of research to find yarns that you like that work for you outside of those I have already covered. I’m planning to try some more planned pooling soon and have a couple of yarns in mind to attempt it with, so I will report back when I have done so.
And do feel free to contact me using any of the methods available on this site if you have any questions

