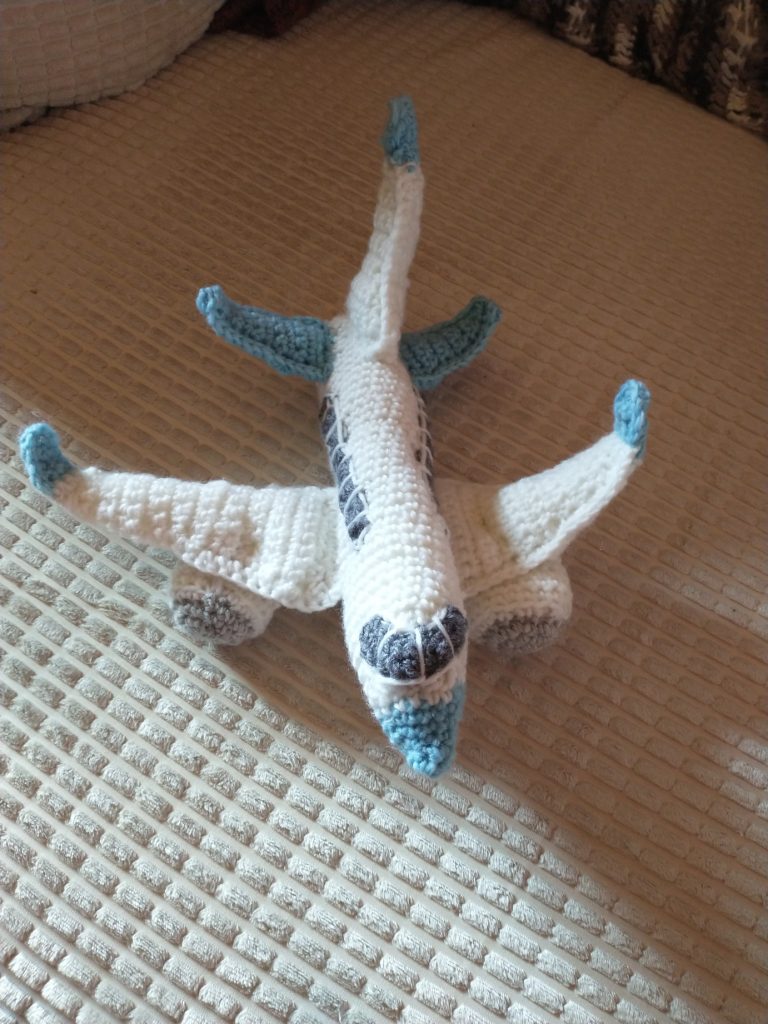
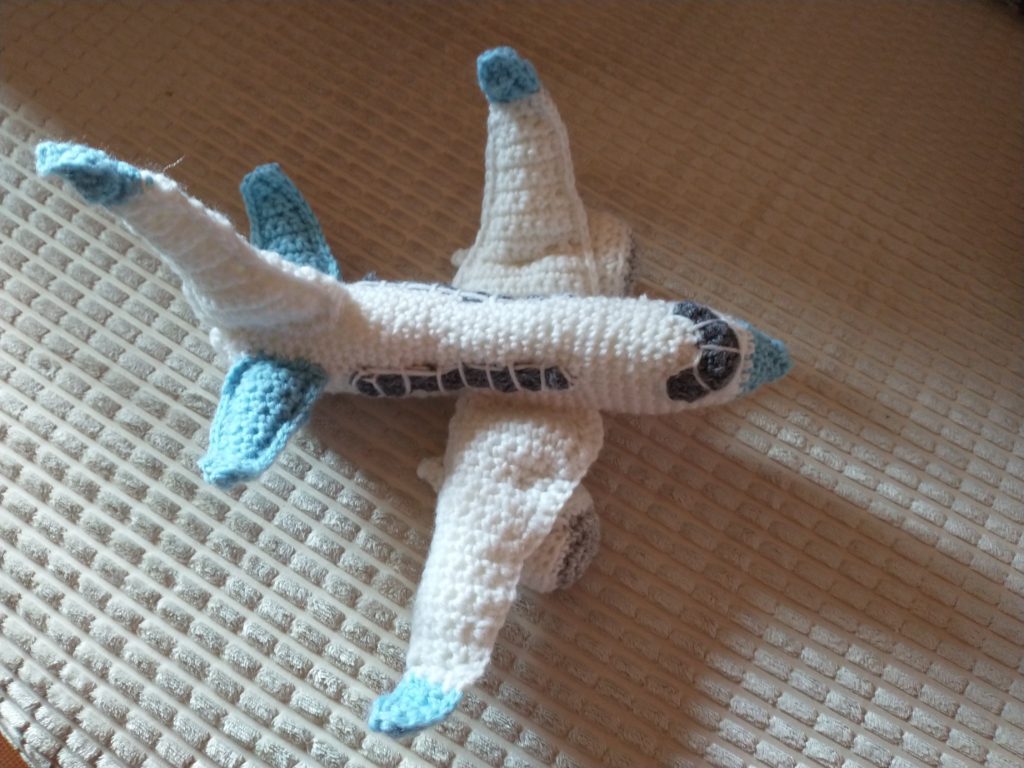
Jet Plane
This one I made for a birthday present, and I had a lot of fun putting it together in a short space of time.
Materials
- Approximately 100 g of White, 20 g of Light Blue, oddments of Grey and Silver Grey DK yarn
- 3.5 mm crochet hook
- Tapestry Needle
- Stitch marker
- Toy stuffing
Skill Level
Easy. You will need to be able to work sc stitches, to increase and decrease and to change colours in the round.
Abbreviations
Please note that I am using US crochet terms throughout. I am actually British, but I find the US terms more intuitive. Measurements are metric.
sc – single crochet (UK = dc)
hdc – half double crochet (UK = htr)
dc – double crochet (UK = tr)
sl – slip stitch
ch – chain
mr – magic ring
st – stitch
inc – increase by 2 st (2 stitches into the same stitch from previous row)
dec – decrease over 2 st (1 stitch across 2 stitches from previous row)
start(x) – Either mr (x sc in mr) or ch2, x sc in 2nd chain from hook – whatever you like best [I am personally not a fan of mr and just stick to the ch2 method]
(x) – x = number of stitches at end of round
Y/O – Yarn Over
F/O – Fasten Off
BLO – Back Loops Only
FLO – Front Loops Only
RS – Right Side
WS – Wrong Side
Pattern
Fuselage (with Light Blue, White)
Round 1: with Light Blue, start(4)
Round 2: inc*, repeat * around (8)
Round 3: 8 sc around
Round 4: (1 sc, inc)* – repeat * around (12)
Round 5: (2 sc, inc)* – repeat * around (16)
Round 6: 16 sc around; change to White on last st
Round 7: 16 sc around
Start Stuffing from here as you go along
Round 8: 6 dc, 10 sc (16)
Round 9: 3 dc, dc inc, 2 dc, sc, sc inc, (3 sc, inc) twice (20)
Round 10: 4 sc, dc inc, 2 dc, 2 sc, sc in, (4 sc, inc) twice (24)
Rnds 11- 39: 24 sc around
Round 40: (5 sc, dec) three times, 3 sc (21)
Rnds 41-43: 21 sc around
Round 44: (4 sc, dec) three times, 3 sc (18)
Round 45: 18 sc
Round 46: (3 sc, dec) three times, 3 sc (15)
Round 47: (2 sc, dec) three times, 3 sc (12)
Round 48: (1 sc, dec) three times, 3 sc (9)
Round 49: dec * – repeat * around
F/O
Wings (with White , Light Blue; make 4)
Row 1: with White ch 11, sc in 2nd ch from hook, sc to end, turn (10)
Rows 2-6: 10 sc, turn
Row 7: dec,6 sc, dec, turn (8)
Rows 8-12: 8 sc, turn
Row 13: dec, 4 sc, dec, turn (6)
Rows 14-18: 6 sc, turn
Row 19: dec, 2 sc ,dec, turn (4)
Rows 20-24: 4 sc, turn changing to Light Blue on last st of row 23
Row 25: dec, dec, turn (2)
Rows 26-27: 2 sc, turn
Row 28: dec (1)
F/O
Tail (with White , Light Blue; make 2)
Row 1: with White ch 12, sc in 2nd ch from hook, sc to end, turn (11)
Rows 2-6: dec by 1 stitch each time on the same side until there are 6 st
Rows 7-9: 6 sc
Row 10: dec by 1 stitch on the same side as the other decreases (5)
Rows 11-12: 5 sc
Row 13: dec by 1 stitch on the same side as the other decreases
Changing to Light Blue on last st(4)
Rows 14-16: 4 sc
Row 17: 4 sc, inc (on opposite side to the decreases)
Note: When working the second side of the Tail, make sure to decrease on the opposite side to the first Tail piece or you will end up with the Fin consisting of one RS piece and one WS piece instead of two RS pieces.
F/O
Tail Fins(with Light Blue; make 4)
Row 1: with Light Blue ch 7, sc in 2nd ch from hook, sc to end, turn (6)
Rows 2-3: 6 sc, turn
Row 4: dec, 2 sc, dec, turn (4)
Rows 5-7: 4 sc, turn
Row 8: dec, 2 sc, turn (3)
Row 9: 3 sc, turn
Row 10: dec, 1scm turn (2)
Row 11: 2 sc, turn
Row 12: dec
F/O
Engines(with Silver Grey, White; make 2)
Round 1: with Silver Grey, start(6)
Round 2: inc * – repeat * around (12)
Round 3: (1 sc, inc)* – repeat * around, changing to White on last st (18)
Round 4: (2 sc, inc)* – repeat * around in FLO (24)
Round 5: 24 sc around in BLO
Round 6-7: 24 sc around
Round 8: (2 sc, dec)* – repeat * around (18)
Round 9: 18 sc around
Round 10: (1 sc, dec)* – repeat * around (12)
Round 11: 12 sc around; start stuffing at this point
Round 12: (1 sc, dec)* – repeat * around (8)
Rounds 13-14: 8 sc around
Round 15: dec * – repeat * around (4)
Round 16: 4 sc around
F/O
Windshield(with Grey)
Row 1: with Grey ch 11, sc in 2nd ch from hook, sc to end (10), work
another 10 sc up the other side of the chain (20)
F/O
Windows(with Grey; make 2)
Row 1: with Grey ch 16, sc in 2nd ch from hook, sc to end (15), work
another 15 sc up the other side of the chain (30)
F/O
Assembly
- Weave in all ends
- Pace two pieces of a Wing together WS to WS (so RS pieces are facing out), and using White, sc around the Wing to join the pieces together, stuffing the Wing lightly as you go. Use Light Blue to join the Wing tips together. Do the same for the second Wing.
- Placing the two pieces of the Tail together WS to WS (so RS facing out), sc around the Tail using White, until you reach the tip, at which point sc in Light Blue. Stuff lightly as you go.
- Using Light Blue, place two pieces of the Fin together WS to WS (so that RS pieces are facing out), sc around the Fin, stuffing lightly as you go. Do the same for th second Fin
- Sew the Tail to the end of the Fuselage at the top
- Sew the Fins on each side of the Fuselage underneath the Tail Fin (see photo for placement or have a look at images of airplanes)
- Sew the Wings to the Fuselage.
- Sew an Engine underneath each Wing. The thin tail end of the Engine should be sticking slightly out at the back of the Wing.
- Sew the Windshield across the nose of the airplane slightly above the nose “bump” so that it appears on both sides of the fuselage as well as across the front of the nose
- Sew the Windows one on each side of the Fuselage
- For the Windshield and Windows, using White, evenly divide the space and sew a number of smaller “windows” (see photo). You could make the Windows as individual ovals if you prefer.
You now have a crochet jet plane. Why not crochet a runway for it using dark grey and white yarn and straight rows?
The Legal Stuff
Copyright 2021- Cazimodo Creative by Caz Thomson. I am very happy for you to make and also sell items using this pattern, but please don’t sell or otherwise distribute the pattern itself. Please credit me with a link to the pattern if you do sell your finished item online.