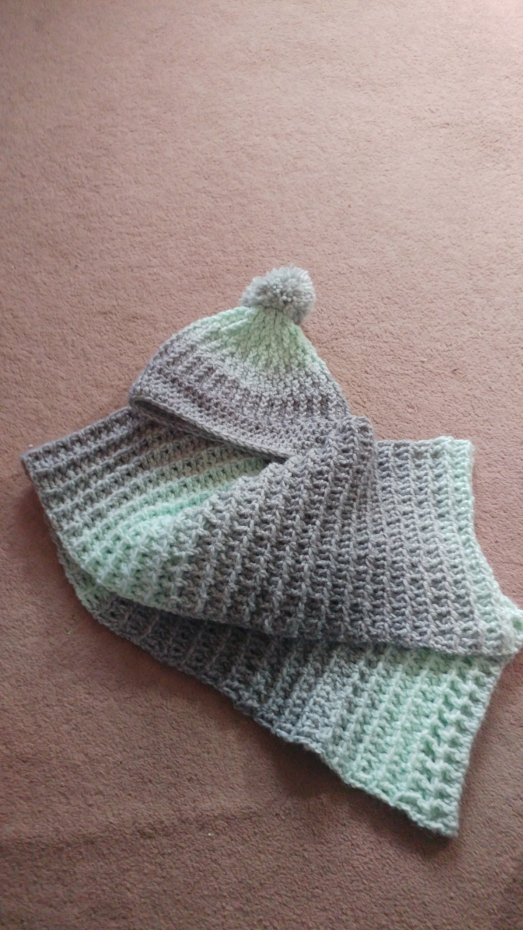
Simple Hat and Scarf Set
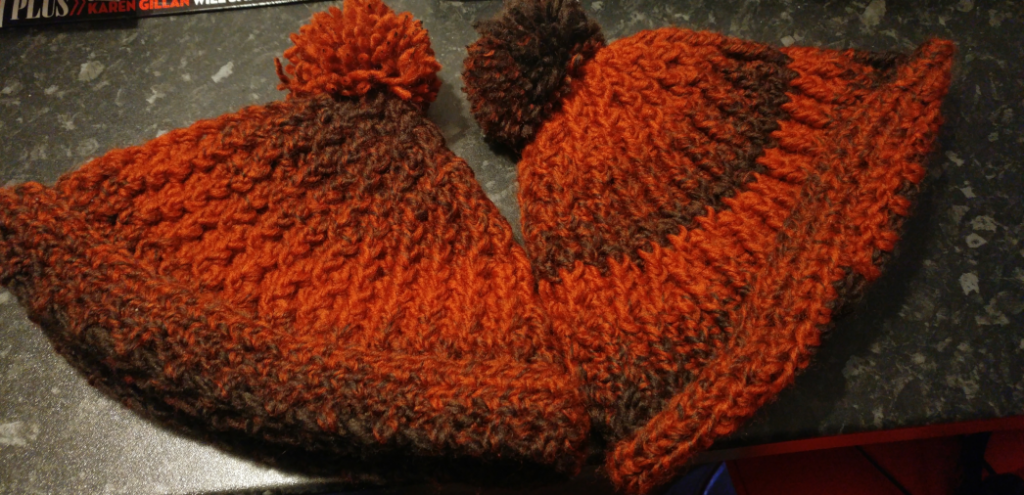
I made the first hat for my partner as we were out walking and his head was getting very cold. Then I was due to go up to the Scottish Highlands to visit my sister, so I made a hat for myself using the same method. I decided a matching scarf would be nice, so made one of those too.
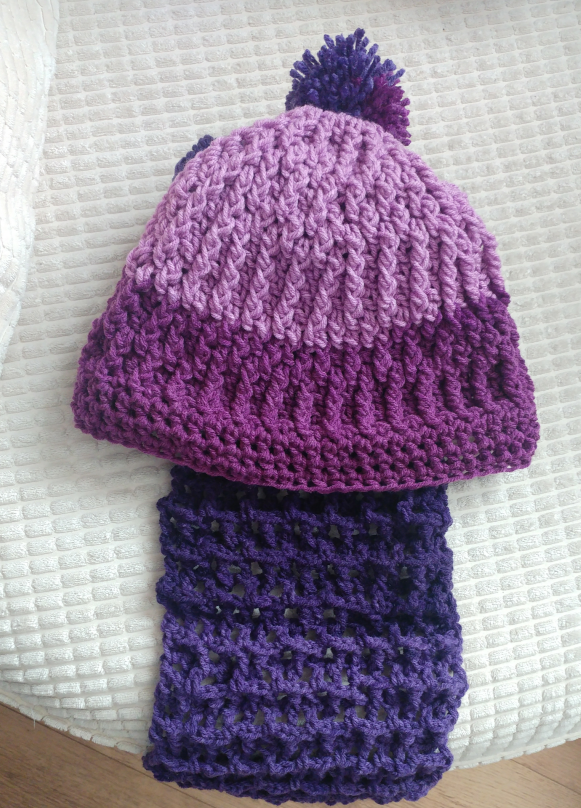
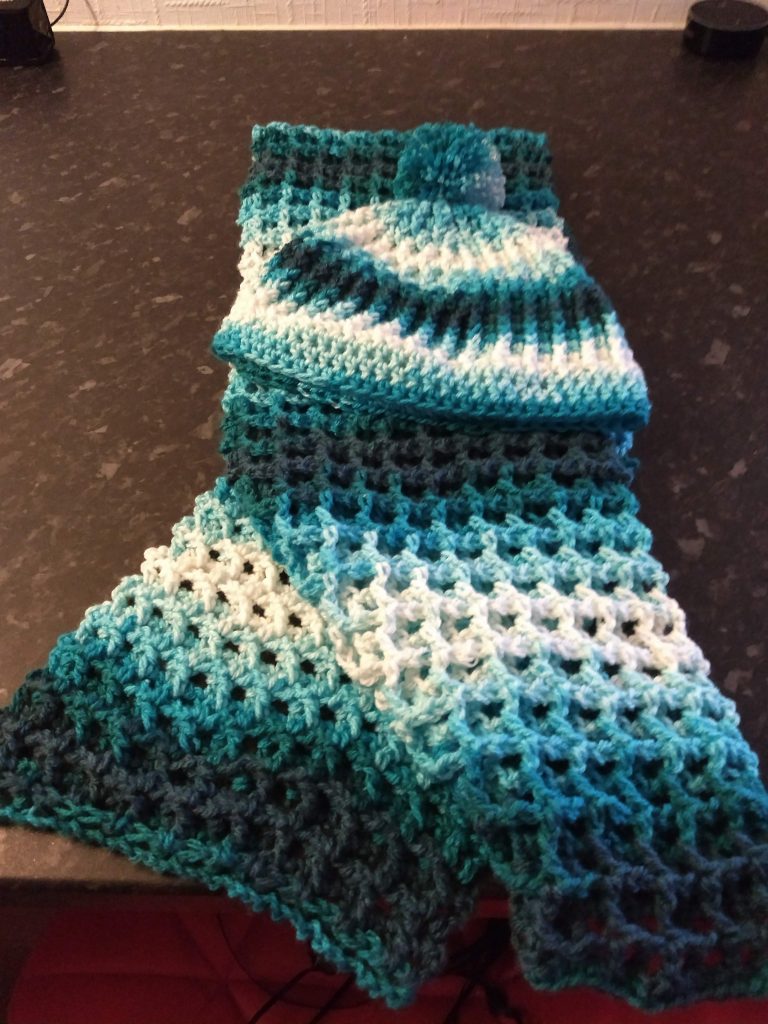
Since then I have made another two hats for my sisters ,a hat and scarf set for my daughter and two hats for ladies who work for the Royal Society for the Protection of Birds (RSPB) and a Christmas set for a friend. The hats especially are very quick to work up. They only take about 4-5 hours to complete. Depending on how much time you have and how long (or wide) you want your scarf to be, it should take about 2 days.
Materials
- Approximately 200g of Chunky yarn
- 6 mm crochet hook
- Tapestry Needle
- Stitch marker
I used a bunch of various yarns for the various makes as you can see. This pattern is very versatile and, depending on the yarn, can result in a number of different textures.
Skill Level
Fairly easy, but you will need to be able to make double crochet (dc), half double crochet (hdc), single crochet (sc) and front post double crochet (fpdc) stitches. You will also need to be able to crochet in the round using either the amigurimi style or using slip stitches to join each round.
Abbreviations
Please note that I am using US crochet terms throughout. I am actually British, but I find the
US terms more intuitive.
sc – single crochet (UK = dc)
hdc – half double crochet (UK = htr)
dc – double crochet (UK = tr)
fpdc – front post double crochet (UK = fptr)
sl – slip stitch
ch – chain
mr – magic ring
st – stitch
inc – increase by crocheting 2 stitches in one stitch
dec – decrease over 2 st
start(x) – Either mr (x sc in mr) or ch2, x sc in 2nd chain from hook – whatever you like best [I
am personally not a fan of mr and just stick to the ch2 method]
(x) – x = number of stitches at end of round
Y/O – Yarn Over
F/O – Fasten Off
RS – Right Side
WS – Wrong Side
Pattern
Hat
Note: The first row is joined with a sl, but thereafter the rows are worked without a sl as in amigurumi. It is up to you if you prefer to use the sl method as you go around. Each row starts with a front post double crochet stitch. Thereafter the fpdc is worked every second stitch. This will cause the hat to eventually have a broken cable look.
Round 1: ch 5, 5 dc in 3rd chain from hook (ch3; counts as first dc) Join back into ch3 with sl
Round 2: inc around (12 dc)
Round 3: [1 fpdc, (1 dc, 1 fpdc) in the next st, 1 dc, (1 fpdc, 1 dc) in the next st] * repeat around (18 stitches)
Round 4: [1 fpdc, 1 dc, (1 fpdc, 1 dc) in the next st] * repeat * around (24 stitches)
Round 5: [1 fpdc, 1 dc, 1 fpdc, (1dc, 1 fpdc) in the next st, 1 dc, 1 fpdc, 1 dc, (1 fpdc, 1 dc) in the next st]*, repeat * around (30 stitches)
Round 6: [1 fpdc, 1 dc, 1 fpdc, 1 dc, (1 fpdc, 1 dc) in the next st] * repeat * around (36 stitches)
Round 7: [1 fpdc, 1 dc, 1 fpdc, 1 dc, 1 fpdc, (1 dc, 1 fpdc) in the next st, 1 dc, 1 fpdc, 1dc, 1 fpdc, 1 dc, (1 fpdc, 1 dc) in the next st]* repeat * around (42 stitches)
Round 8: [1 fpdc, 1 dc] * repeat * around (42 stitches)
Round 9: [1 fpdc, 1 dc, 1 fpdc, 1 dc, 1 fpdc, 1 dc, (1 fpdc, 1 dc) in the next st] * repeat * around (48 stitches)
Round 10: [1 fpdc, 1 dc] * repeat * around (48 stitches)
Round 11: [1 fpdc, 1 dc, 1 fpdc, 1 dc, 1 fpdc, 1 dc, 1 fpdc, (1 dc, 1 fpdc) in the next st, 1 dc, 1 fpdc, 1 dc, 1 fpdc, 1 dc, 1 fpdc, 1 dc, (1 fpdc, 1 dc) in the next st]* repeat * around (54 stitches)
Round 12: 1 fpdc, 1 dc * repeat around (54 stitches)
Round 13: [1 fpdc, 1 dc, 1 fpdc, 1 dc, 1 fpdc, 1 dc, 1 fpdc, 1 dc, (1 fpdc, 1 dc)
in the next st] *, repeat * around (60 stitches)
Rnds 14-17: [1 fpdc, 1 dc] * repeat * around (60 stitches)
3 rounds of 60 stitches should be enough, but it will depend on the yarn you are using. If you put the hat on and less than half of the ears are covered, you probably need to do another row of 60 stitches.
Rnds 18-20: hdc around (60 stitches)
F/O
Scarf
Round 1: (RS). ch 33, dc in 4th chain from hook (3 ch at start counts as first dc); [skip next ch, dc in next ch] * repeat to * end, turn
Round 2: ch 3 (counts as 1 dc and 1 ch), [fpdc in next dc, ch 1, dc in next dc, ch 1] * repeat * to end of row, turn
Round 3: ch 3 (counts as 1 dc and 1 ch), [fpdc, in next fpdc, ch1, dc in next dc, ch 1] * repeat * to end of row, turn
Round 4-end: ch 3 (counts as 1 dc and 1 ch), [fpdc, in next fpdc, ch1, dc in next dc, ch 1] * repeat * to end of row, turn
Make the scarf as long as you like, finish with a row of sc and F/O.
Assembly
Sew in all ends on the scarf and hat. I did not add tassels to the scarves I made, but you could do so if you like. If you like your hat with a pom-pom on top, these are easy enough to make using a pom-pom maker or bits of cardboard.
That’s it. Wrap up warm! 🙂
The Legal Stuff
Copyright 2017- Cazimodo Creative by Caz Thomson. I am very happy for you to make and also sell items using this pattern, but please don’t sell or otherwise distribute the pattern itself. Please credit me with a link to the pattern if you do sell your finished item online.